Nitrile Rubber O-Ring Failure

Objective
To conduct an analysis on a nitrile O-ring which had failed in service in a periscopic system.
Testing Undertaken
- Stereomicroscopy
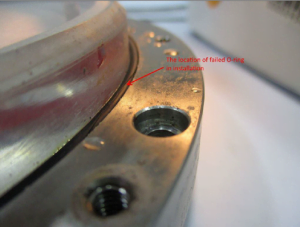
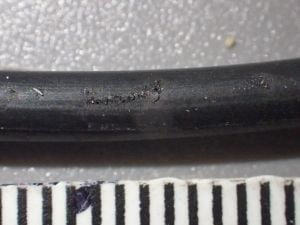
The aim of this investigation by ExcelPlas rubber testing Laboratories was to conduct an analysis on a nitrile O-ring which had failed in service in a periscopic system. The testing performed involved Stereomicroscopy in order to get a detailed view of the suspected failure area.The aim of this investigation by ExcelPlas rubber testing Laboratories was to conduct an analysis on a nitrile O-ring which had failed in service in a periscopic system. The testing performed involved Stereomicroscopy in order to get a detailed view of the suspected failure area.
Stereomicroscopy (Microcracking)
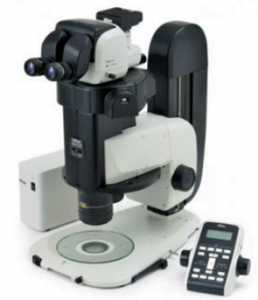
Microcracking on dead fold was assessed using a Nikon SMZ25 stereographic optical microscopy (SOM).Only the exposed side of the samples was subjected to 180 degree ‘dead fold’ and was observed for incipient microcracking at various magnifications.

The liner samples were bent back and dead folded (180 degrees) so that the surface of the liner was placed in tension and under strain.
The bend back specimens were then placed in restraint clips and the top faces of the fold specimens were microscopically examined for any evidence of microcracking.
Whilst the bending stress is somewhat in excess of that likely to be encountered in service it will determine if any incipient micro cracking or brittle layers are present on the liner surface. Quality virgin liner samples subjected to this test do not exhibit any micro cracking.

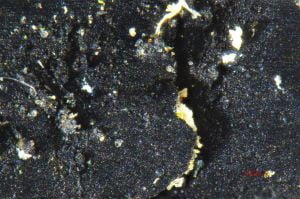
Cracking was likely to have been caused by the glass-like particles which rubbed and cut into O-rings under oscillating pressure difference. Based on the size and location of the suspicious failure spot, the cracks were likely to be too small or too shallow to leak water under ambient pressure if they only remain on top surface. However, one of our hypotheses is higher pressure difference might amplify the effect of small cracks by pushing or squeezing the rubber O-ring, so that water can flow through along cracks and accumulate at the other side of the periscope gradually.

Excelplas provides material testing on a range of products including rubbers, sealants, and elastomers. Being the leaders in material identification and failure analysis, we have the knowledge and ability to produce fast and accurate results using the latest modern testing equipment. These services offered comply with ISO-17025 standard and are undertaken in a NATA accredited laboratory in Melbourne, Australia.

